Building Our Goat Milking Stand
Milking a goat sounds simple until you try to do it close to the ground. You quickly discover how much time you spend bending forward and working in an uncomfortable position. That is hard on your back, especially when milking becomes part of the daily routine.
That was the main reason we decided to build a goat milking stand. By raising the goat from the ground, we can bring her to a practical working height. It also gives us a way to keep her in one place while she is being milked.
This stand is one small part of the wider system we are developing for our goats. Our Goats & Feeding Forest page explains how housing, feeding, forage, and daily care fit together on our homestead.
Built Around Jenalyn
We did not choose the height of the stand from a standard drawing or a fixed set of dimensions. We designed it around Jenalyn.
Before JM started building, we looked at how Jenalyn would work beside the goat while sitting down. We also considered whether the same height would remain practical when she preferred to stand.
The result is a milking stand built specifically for the person who will use it. The goat is raised high enough to make milking more comfortable without forcing Jenalyn to keep bending over.
Using Materials From the Homestead
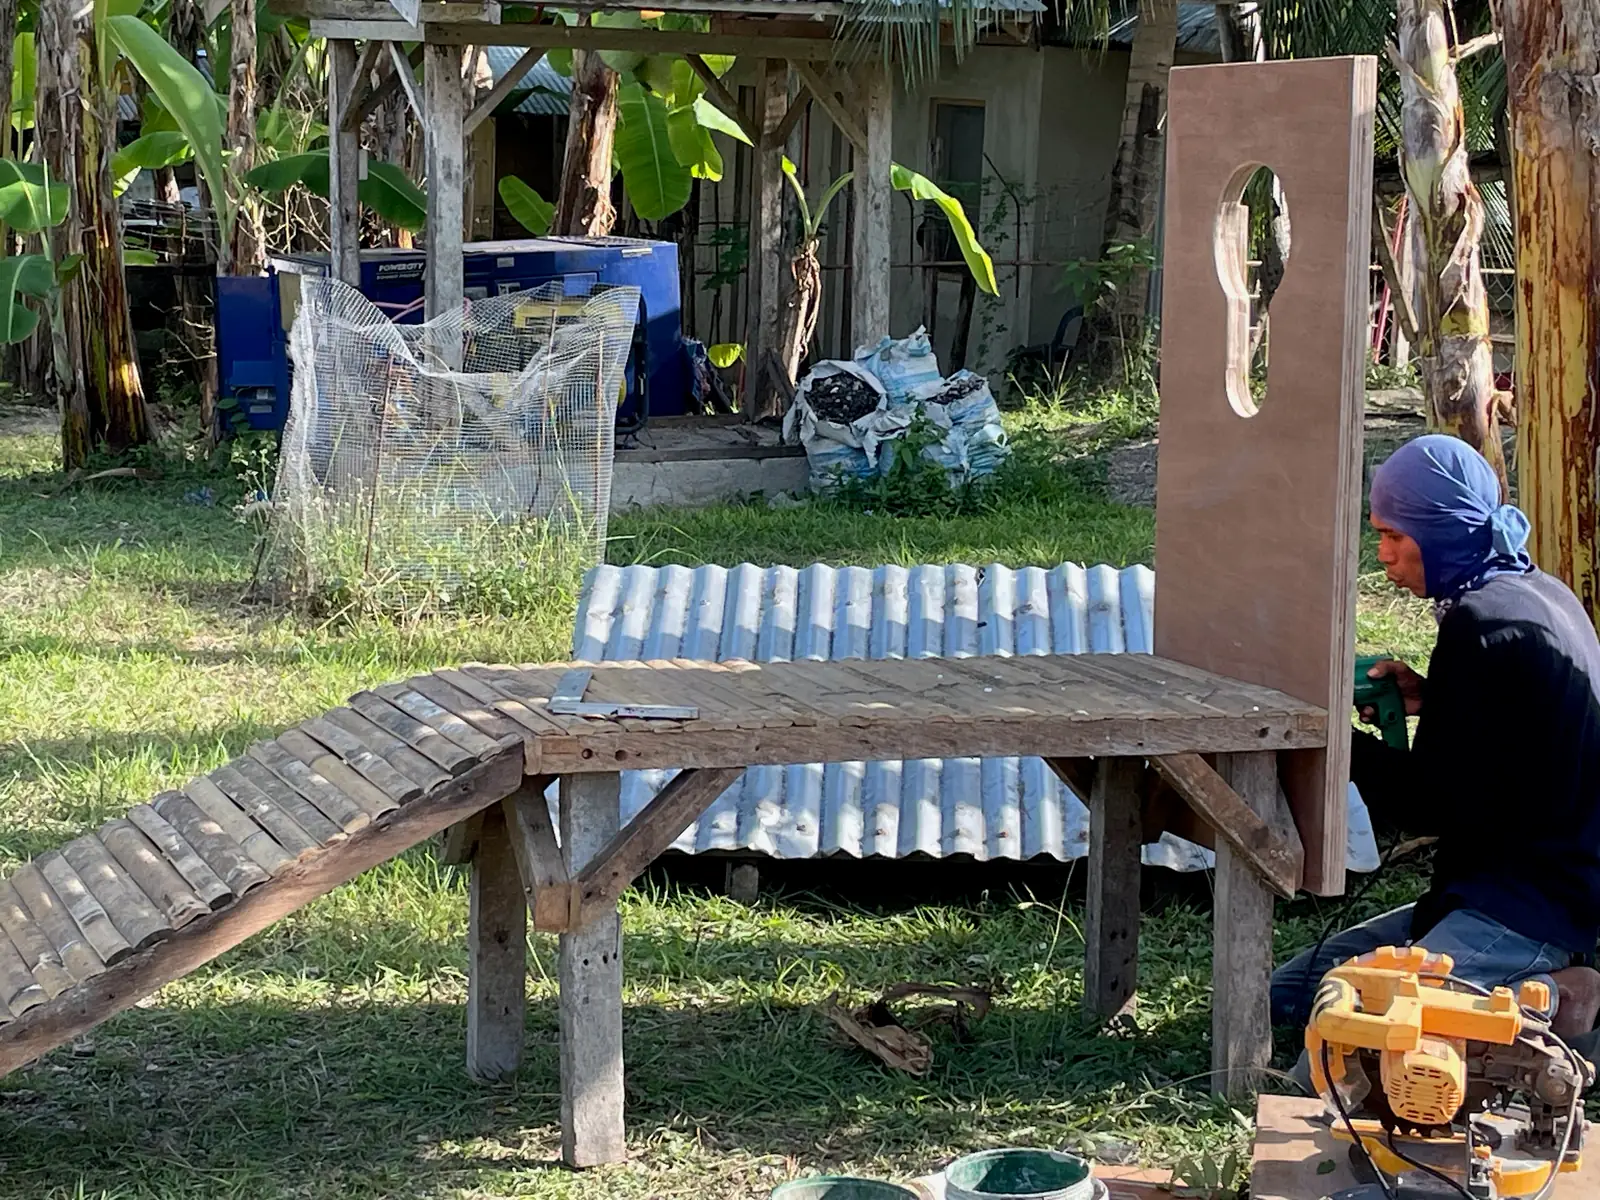
JM built the stand from bamboo, split bamboo, and reused coco lumber.
These are practical materials for us because they are locally available and because some of the timber could be reused instead of buying everything new. The frame provides the raised working platform, while split bamboo is used in the stand’s construction.
The headboard needed a different material. That part has to remain stable when a strong goat moves or pulls against it, so we made it from marine plywood.
The stand also fits into the same practical approach behind our feeding forest for the goats: use what the land can provide, reuse suitable materials, and build systems around the animals we actually keep.
Building a Strong Headboard
The headboard consists of two sheets of three-quarter-inch marine plywood.
JM glued the two sheets together with wood glue and added screws to pull the layers tightly together. Once joined, they formed a board approximately one and a half inches thick.
That thickness was intentional. Goats can be surprisingly strong, and the headboard is the part that helps keep the animal in position. We wanted it to be solid rather than relying on a single, thinner sheet of plywood.
The completed board was then mounted at a height that allows our goats to put their heads through the opening comfortably.
Why We Chose a Keyhole Opening
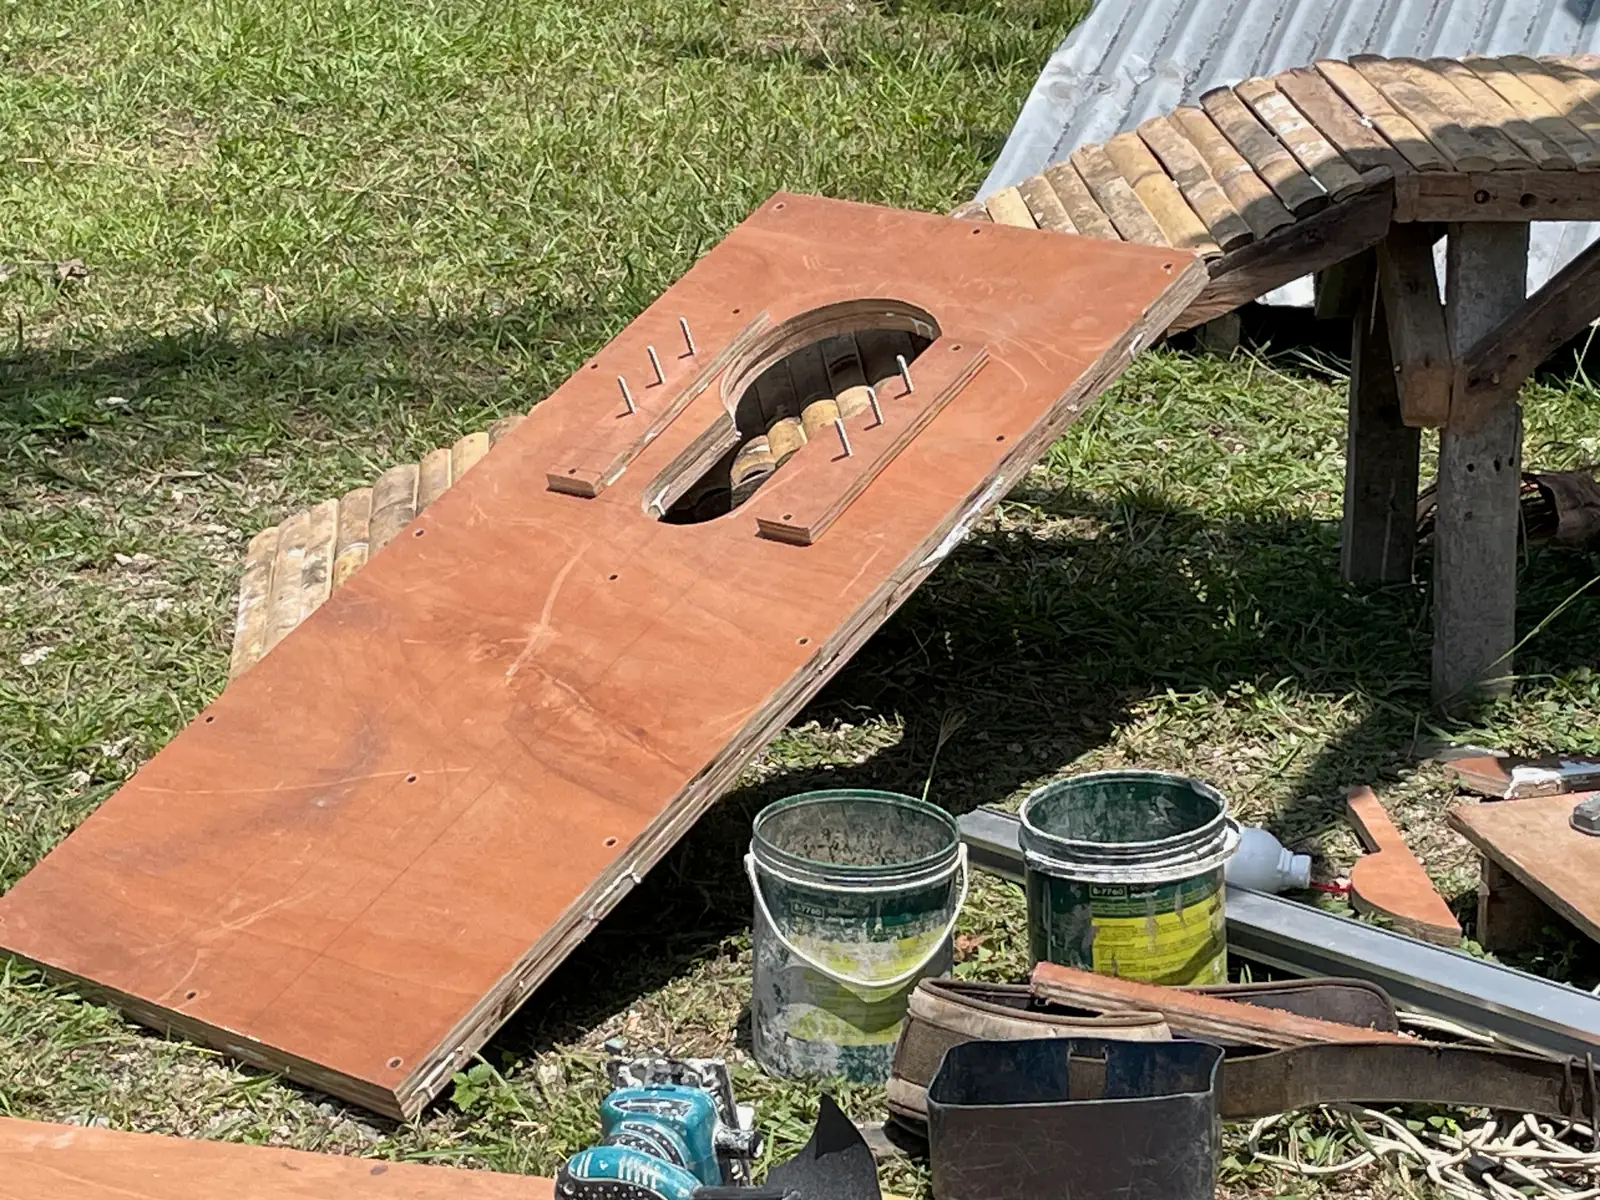
We used a keyhole-shaped opening in the headboard.
The wider upper section gives the goat enough room to put her head through. She can then lower her head into the narrower section to eat from the feeder.
Once her head is down, a wooden locking piece can be placed into position. The goat can still move her head, but she can no longer lift it back into the wider part of the opening and pull it out.
Food gives her something to concentrate on while the headboard helps keep her in place during milking. Producing and storing that feed is another part of the system, including projects such as making Napier grass silage in a 47-liter drum.
Making Room for Horns
Our goats keep their horns.
We choose not to disbud them because we consider horns a natural part of a goat. That decision had to be taken into account when we designed the headboard.
A head opening made only for hornless goats would be too small. The wider part of our keyhole therefore had to provide enough room for both the goat’s head and her horns to pass through comfortably.
That is also one reason why the locking system had to be adjustable rather than permanently fixed at one narrow width.
Adjustable for Different Goats
The protruding bolts visible in the headboard are part of the adjustable locking system.
The wooden locking piece fits over these bolts and can be positioned to suit goats with different head sizes. That allows us to use the same milking stand for more than one goat.
The bolt heads were placed and glued between the two sheets of marine plywood before the layers were joined. They are captured inside the laminated board, which prevents them from simply pulling out or turning freely while the locking piece is being adjusted.
Mounting the Headboard
After the headboard had been laminated, cut, and fitted with the adjustable hardware, JM mounted it onto the stand.
This was the point at which the separate parts began to look like an actual milking table. The raised structure, the working height, and the headboard were now coming together as one practical piece of equipment.
The stand was not completely finished yet, but its basic purpose was already clear: raise the goat to a comfortable working height, give her access to feed, and keep her in position while Jenalyn milks her.
The milk is ultimately the reason for building the stand. One example of what we make with it is our homemade labne from goat milk.
This is the first part of the story. In the second part, we will show the completed milking stand, how a goat walks onto it, how the headboard works in practice, and how Jenalyn uses the stand during milking.
Enjoyed this story?
If you know someone who enjoys homesteading, goats, traditional food, or self-sufficiency, feel free to share it.
Related stories from De Klomp
More from the homestead about food, goats, growing, and building a resilient life.
Why We Are Growing a Feeding Forest for Our Goats
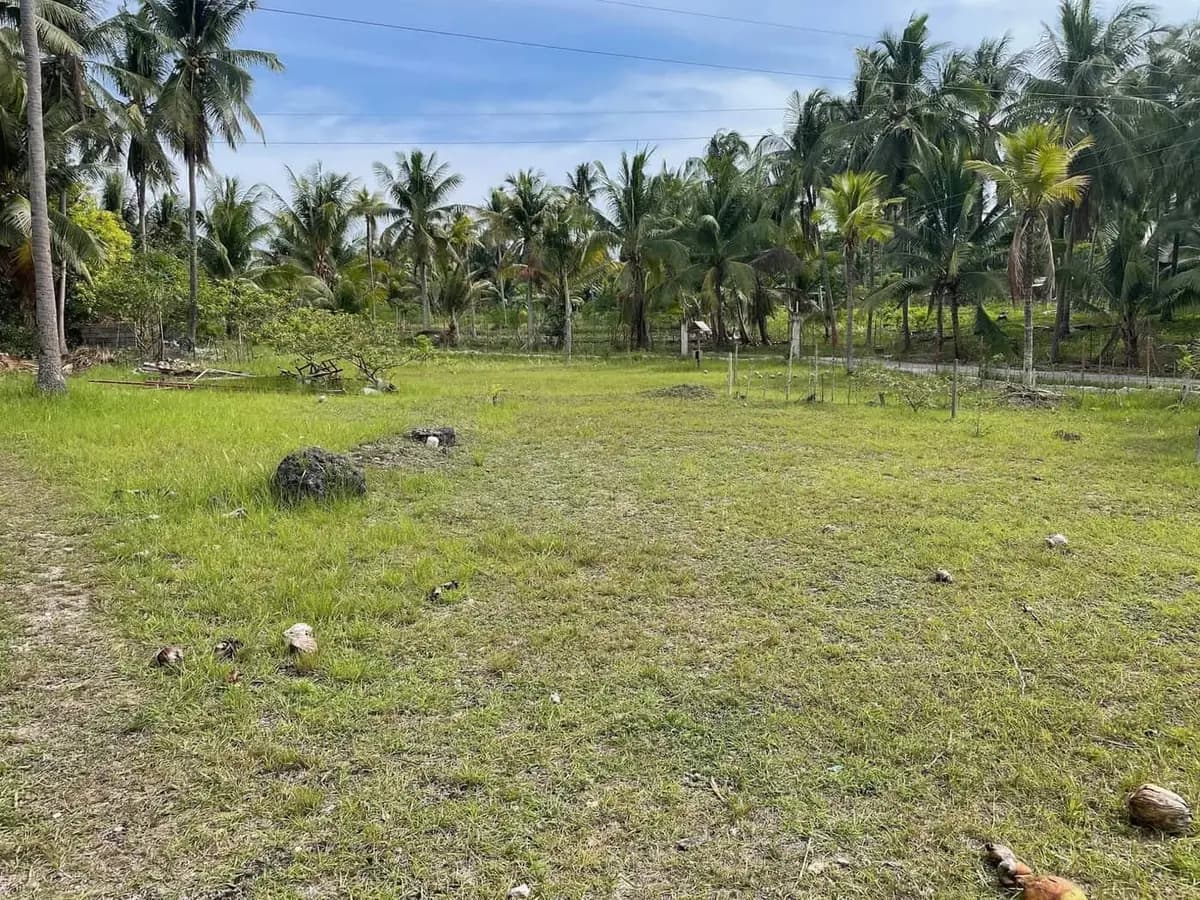
We are growing a feeding forest in Santander, Cebu, to provide our goats with fresh, local and renewable fodder from our own land.
Read the story →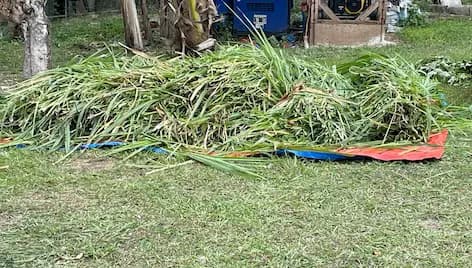
How We Made Napier Grass Silage in a 47-Liter Drum
At De Klomp Homestead we turned fresh Napier grass into goat silage in a 47-liter drum, packing it layer by layer and compacting each layer by foot.
Read the story →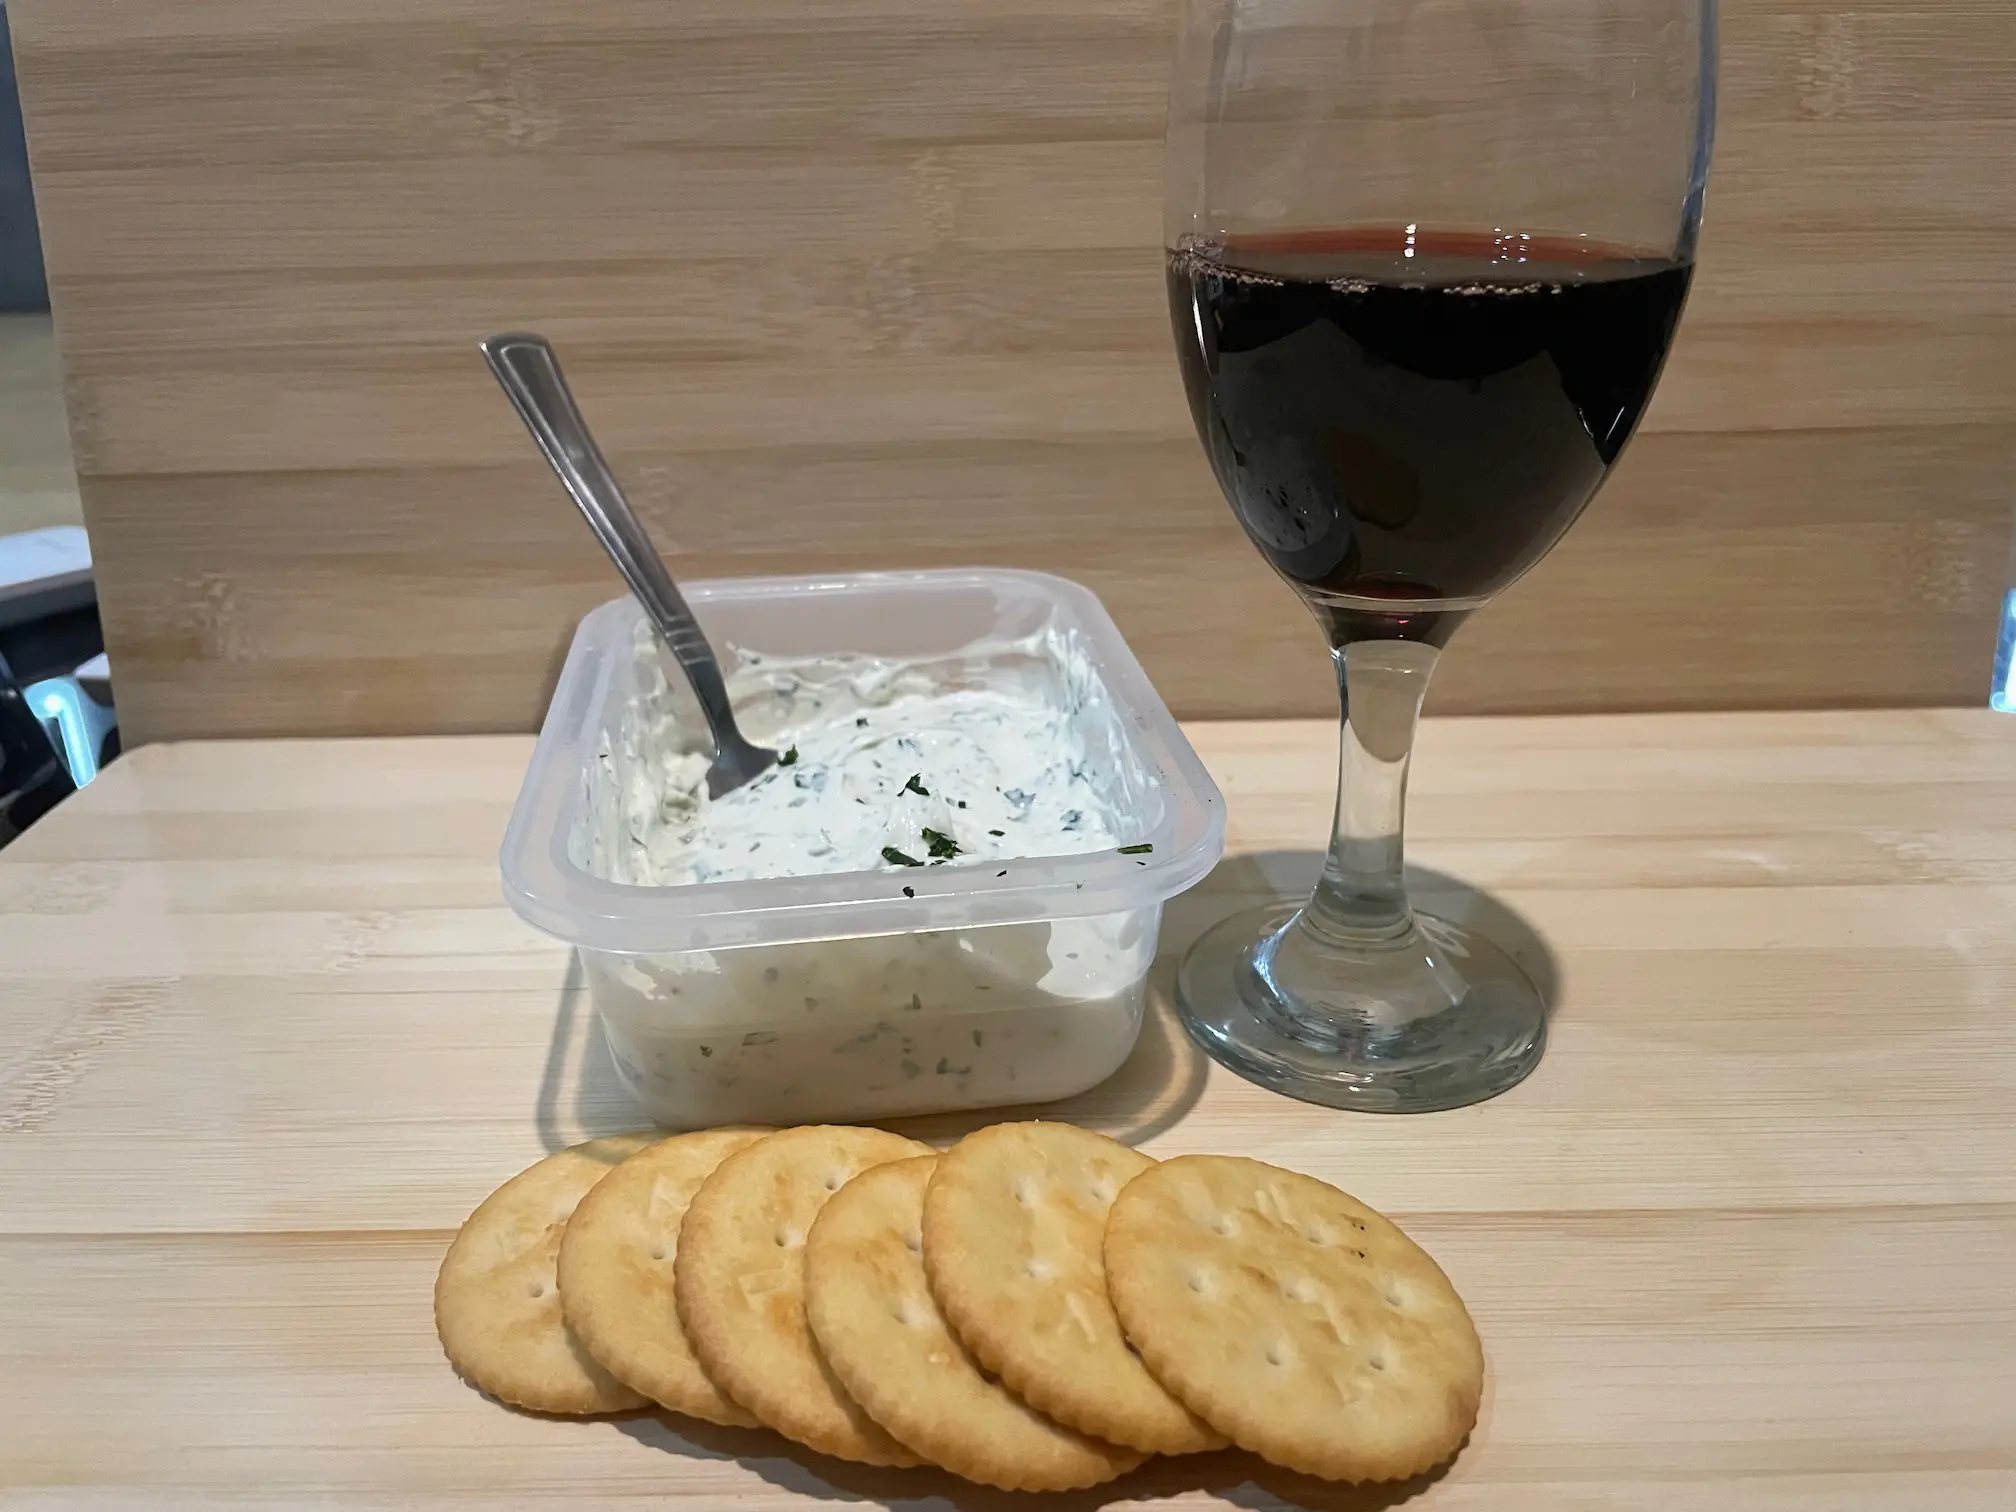
Homemade Labne From Goat Milk at De Klomp Homestead
We made fresh Labne from our own goat milk at De Klomp Homestead, served with parsley and garlic as part of our journey into homemade dairy.
Read the story →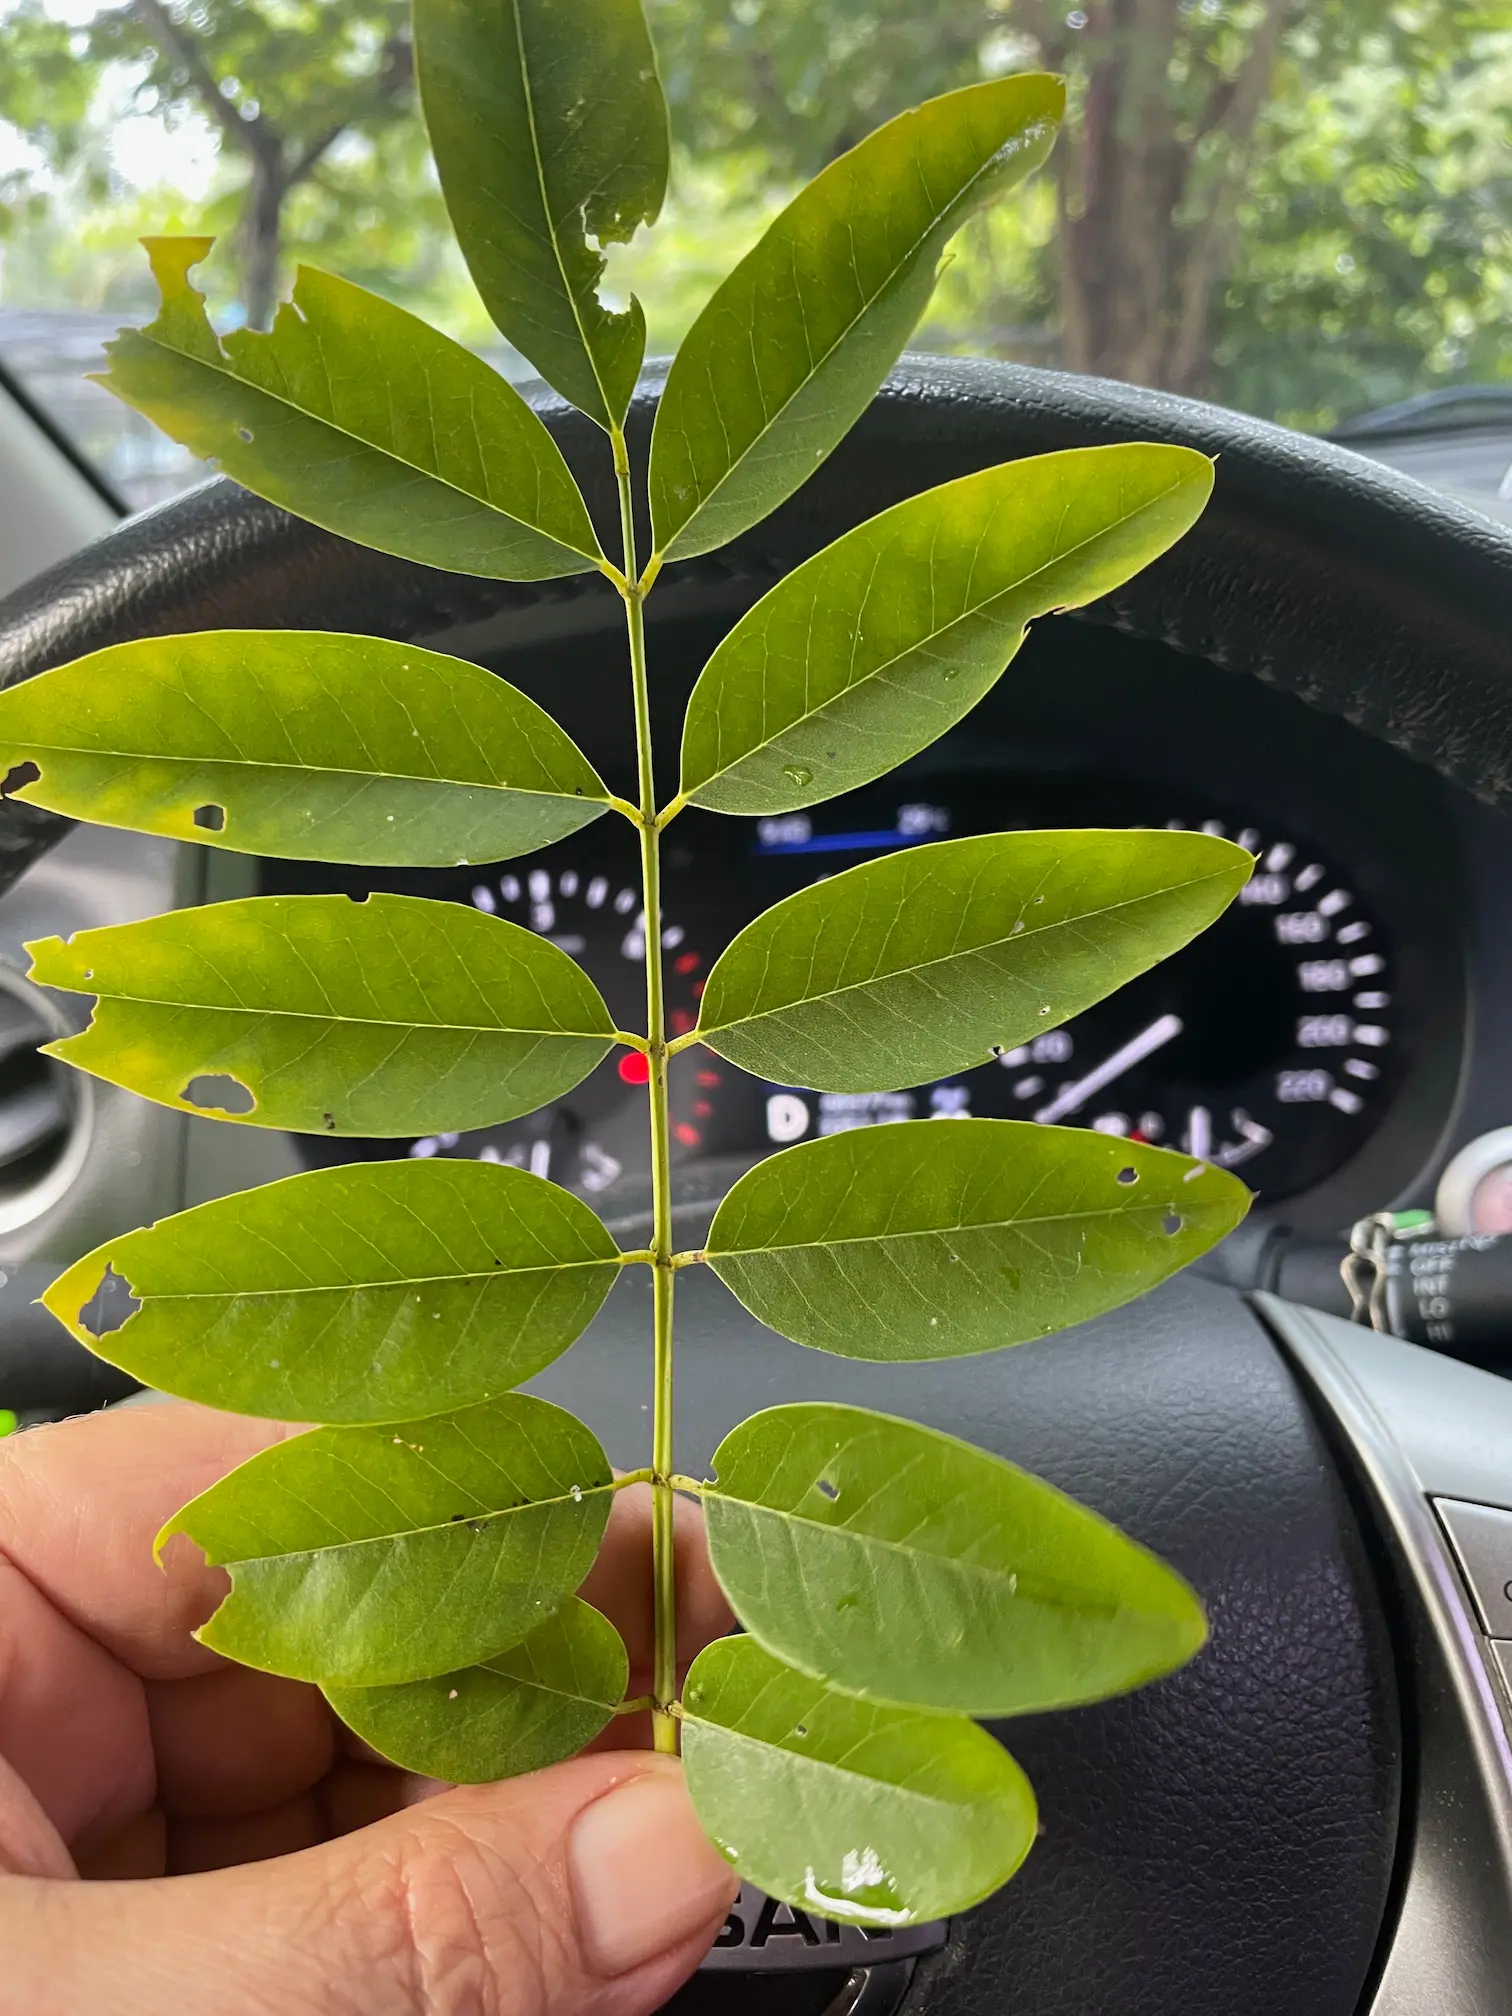
Indigofera Found: One More Piece of the Feeding Forest
We found Indigofera growing at De Klomp and began exploring how this high-protein tropical forage could support our goats and feeding forest.
Read the story →More stories from the homestead
More honest lessons from goats, gardens, bread, and daily life on the land.