
How I Trim and Portion a Whole Beef Tenderloin
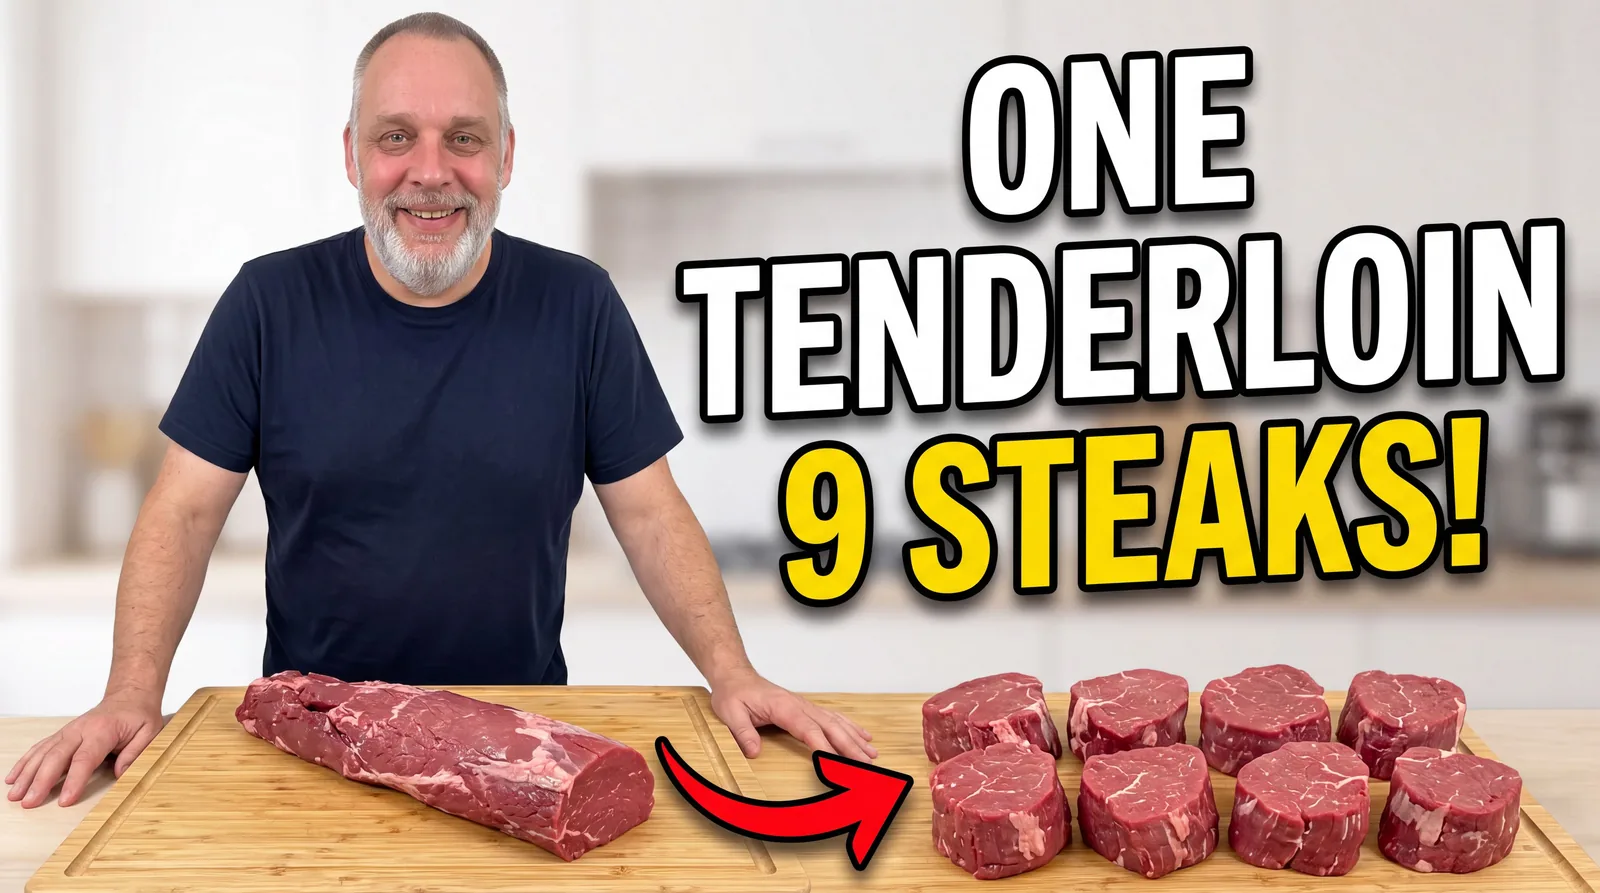
A whole beef tenderloin can look like a difficult and expensive piece of meat to work with. It is long, uneven, covered in silver skin and usually much larger than the steaks people are accustomed to buying.
But once you understand its different parts, it is not especially complicated.
In the video below, I show exactly how I clean and portion a whole tenderloin in our kitchen at De Klomp Homestead. I am not pretending to be a professional butcher. This is simply the practical method I use at home to turn one whole tenderloin into a useful collection of steaks and smaller pieces of meat.
Why buy the whole tenderloin?
Buying ready-cut tenderloin steaks is convenient, but somebody else has already done the work and charged you for it.
When I buy the whole tenderloin, I can decide how thick I want the steaks, how much fat I want to leave on them and what I want to do with the smaller pieces.
Nothing useful has to be wasted.
The clean steaks can be packed and frozen, the smaller pieces can become a child-sized steak, steak tartare or filet américain, and suitable trimmings can still be used for soup or stock.
That is the kind of practical food skill we want to preserve at De Klomp. It belongs naturally with the other work collected on our Food and Skills page.
Understanding the head, tail and chain
A whole tenderloin is not the same thickness from one end to the other.
The thick end is generally called the head. The narrow end is the tail. Along one side, there may also be a looser strip of meat known as the chain.
The tenderloin I used in this video arrived vacuum sealed and already had most of the chain removed. A little remained, together with some fat and connective tissue.
The first job was therefore not cutting steaks. It was cleaning the meat.
Removing the silver skin
Silver skin is the shiny, tough membrane running along the outside of the tenderloin. It does not soften like ordinary fat when cooked, so it needs to come off.
I begin near the tail and carefully slide the knife just underneath the silver skin. Once I have created a small flap, I hold and pull that flap while guiding the knife forward beneath it.
The important thing is to keep the blade close to the silver skin.
If the knife goes too deeply, good tenderloin comes away with the membrane. When the cut is clean, there should be very little meat left attached to the removed silver skin.
I work slowly along the tenderloin, checking for small patches that remain and trimming them separately.
Cleaning the thicker end
The head of the tenderloin contains more separate muscles, seams, fat and connective tissue than the narrow end.
You can spend a great deal of time following every seam and removing every last piece. I do not.
As I say in the video, I am a lazy butcher.
That does not mean leaving the meat full of tough connective tissue. It means I use a practical home-kitchen approach. Where a tendon or seam is easy to remove, I remove it. Where following it would sacrifice too much good meat, I make a simpler cut and use the remaining piece appropriately.
The purpose is not to produce a display piece for a butcher’s window. The purpose is to prepare good meat for our family.
Cutting steaks from a thin tenderloin
This particular tenderloin was relatively thin.
If I had cut every steak straight down at a ninety-degree angle, several portions would have been very small. Instead, I tilted the knife and cut through the narrow section at approximately forty-five degrees.
That creates a wider surface and gives the smaller steaks a better shape.
After cutting, the steaks can be gently pressed and reshaped by hand. They do not need to look absolutely identical. They only need to cook evenly enough for the people who will eat them.
Using the smaller pieces
Not every part of a tenderloin produces a large restaurant-style steak.
That does not make the smaller pieces worthless.
Two of the pieces in this tenderloin were suitable as smaller steaks for a child. Pieces from the head can also be finely diced or ground for steak tartare or used for Dutch filet américain.
You could trim the tenderloin much more aggressively and produce only perfectly uniform steaks, but that would not necessarily be the most useful approach in a family kitchen.
I would rather use the whole tenderloin intelligently.
Pack according to how you cook
Once the tenderloin has been divided, the portions can be packed according to how they will actually be used.
Large steaks can be packed together for adults. Smaller steaks can be packed separately. Offcuts can be labelled for tartare, soup meat or another meal.
This is one of the main advantages of processing a whole cut yourself. You are not stuck with somebody else’s portion size or packaging decisions.
You prepare the meat for your household.
Learning practical kitchen skills goes hand in hand with producing your own food. If you're interested in more traditional cooking, preserving and homestead recipes, you'll find them all in our **De Klomp Kitchen** collection.
A practical skill, not a perfect performance
There are more formal and precise ways to break down a beef tenderloin.
A trained butcher may follow every seam more carefully, create more uniform medallions and trim the head differently. That is fine.
This video shows my method.
It is practical, reasonably quick and designed to avoid wasting useful meat. At the end, I have clean tenderloin steaks, smaller family portions and several pieces that can still be used in other dishes.
For me, that is a successful afternoon in the kitchen.
Watch the full video to see every cut, including how I guide the knife beneath the silver skin and how I portion the thinner end of the tenderloin.
Enjoyed this story?
If you know someone who enjoys homesteading, goats, traditional food, or self-sufficiency, feel free to share it.
Related stories from De Klomp
More from the homestead about food, goats, growing, and building a resilient life.
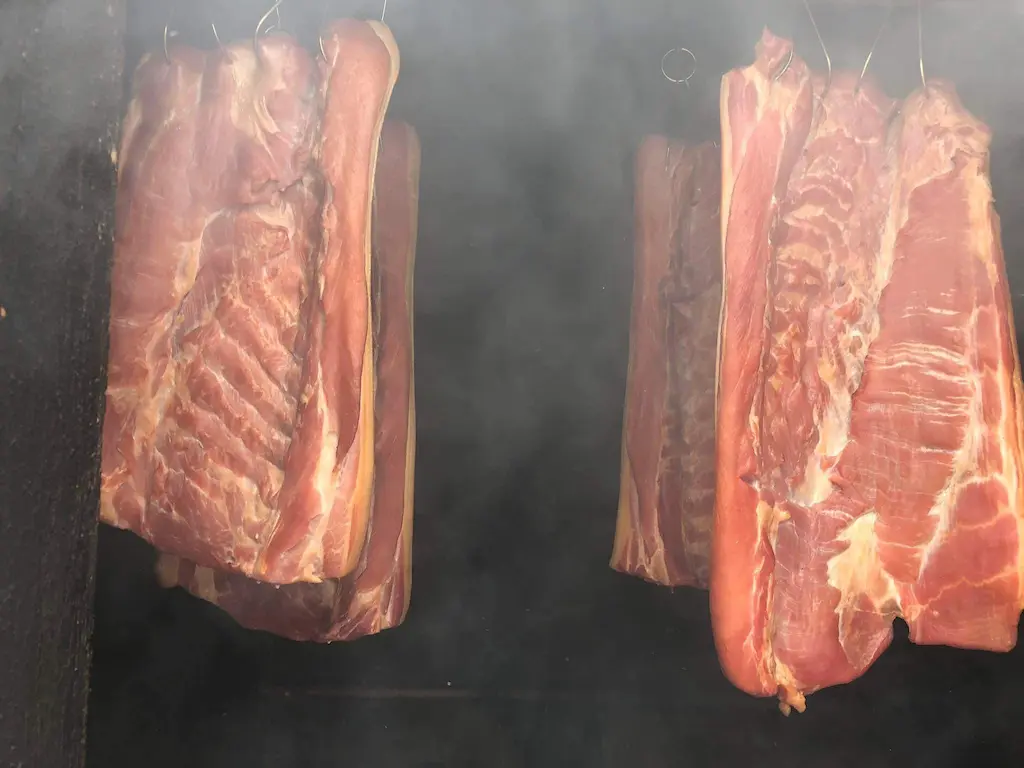
Home-Smoked Bacon: Seven Days of Cure, Eight Hours of Smoke
We dry-cure pork for seven days, smoke it for eight hours over a carefully selected woodchip blend, then vacuum-pack and freeze our homemade bacon.
Read the story →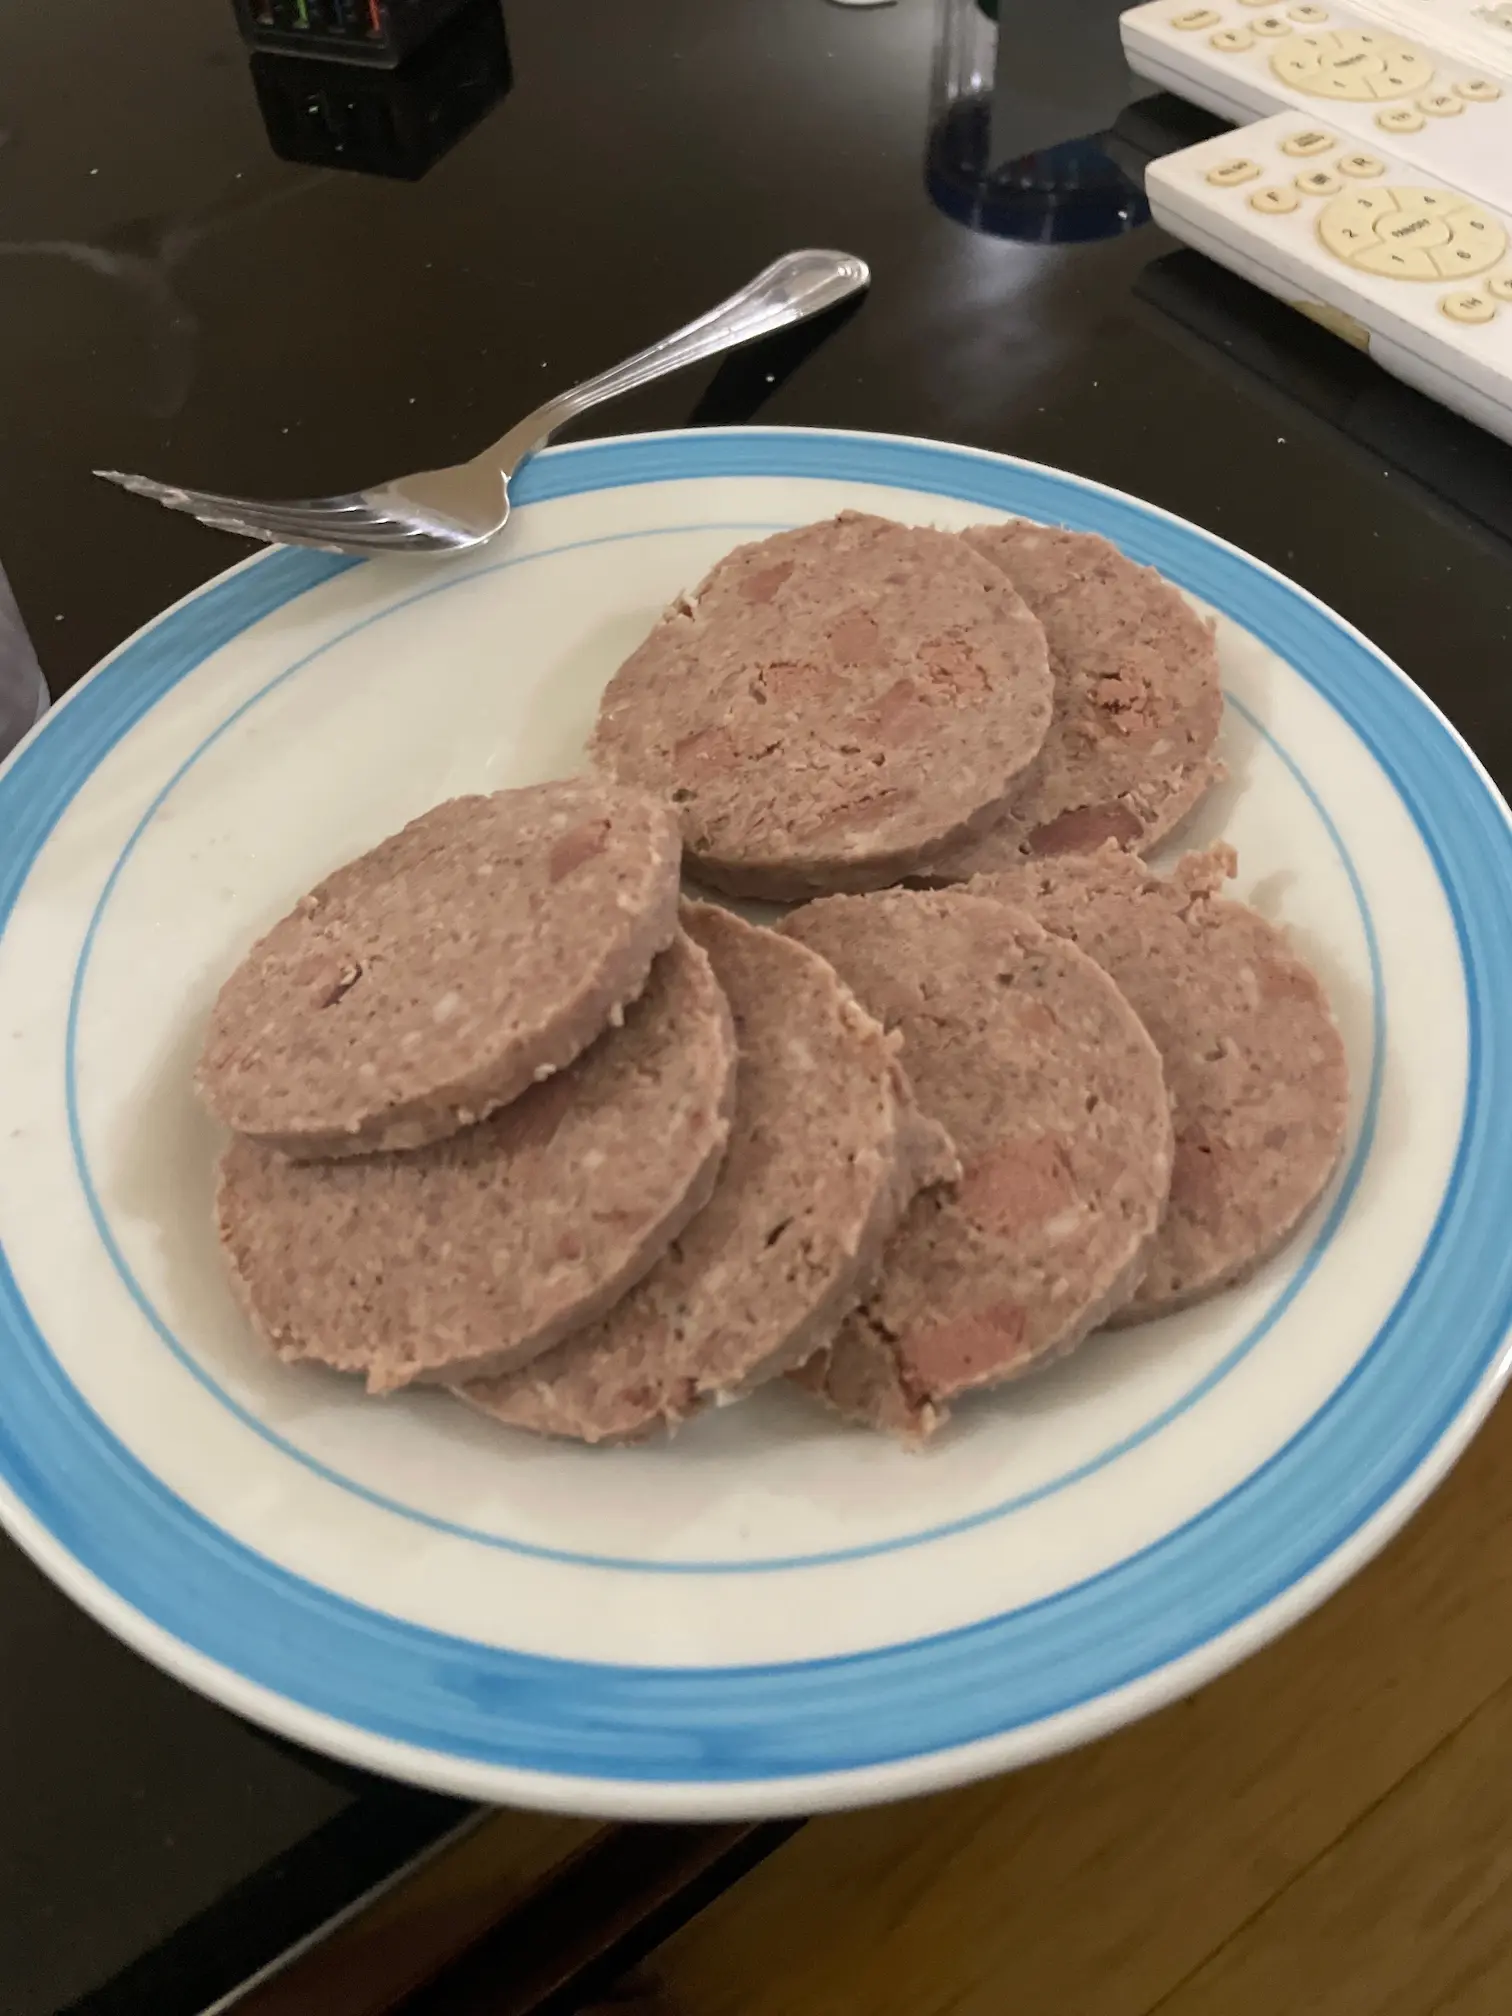
Old-School Liverwurst and the Taste of Memory
A 200-year-old Groningen family recipe brought to Cebu: homemade liverwurst, traditional food skills, and a taste of Dutch family history.
Read the story →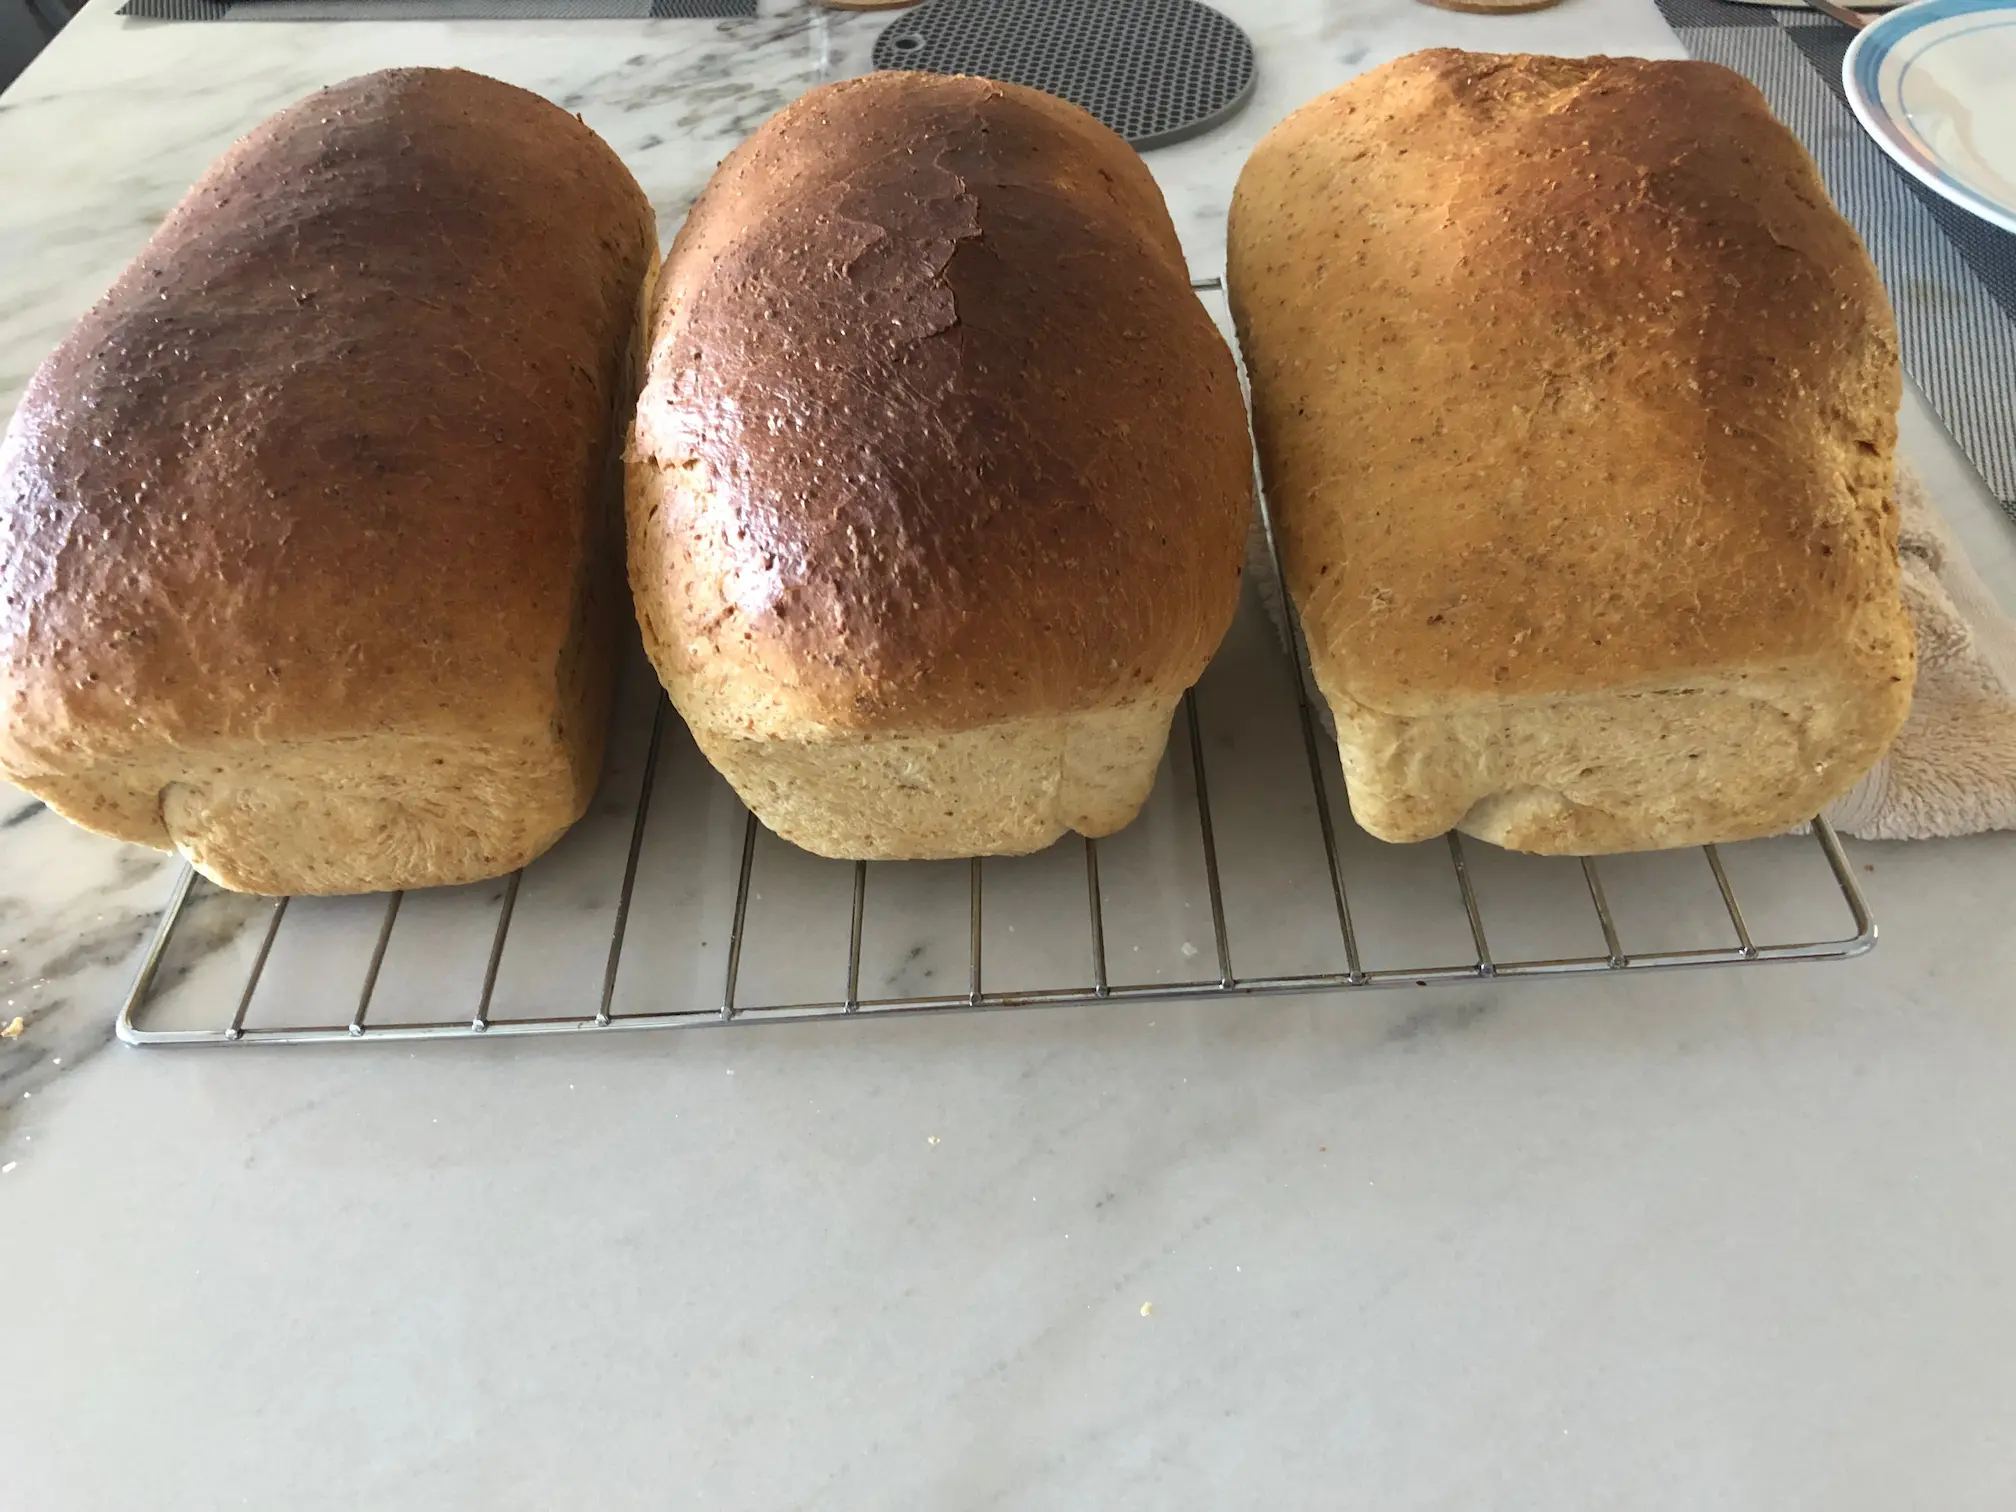
Bread That Goes Stale in Two Days, and Why That's Good
Our homemade bread goes stale after two days because it is baked for flavor and nourishment, not engineered for an unnaturally long shelf life.
Read the story →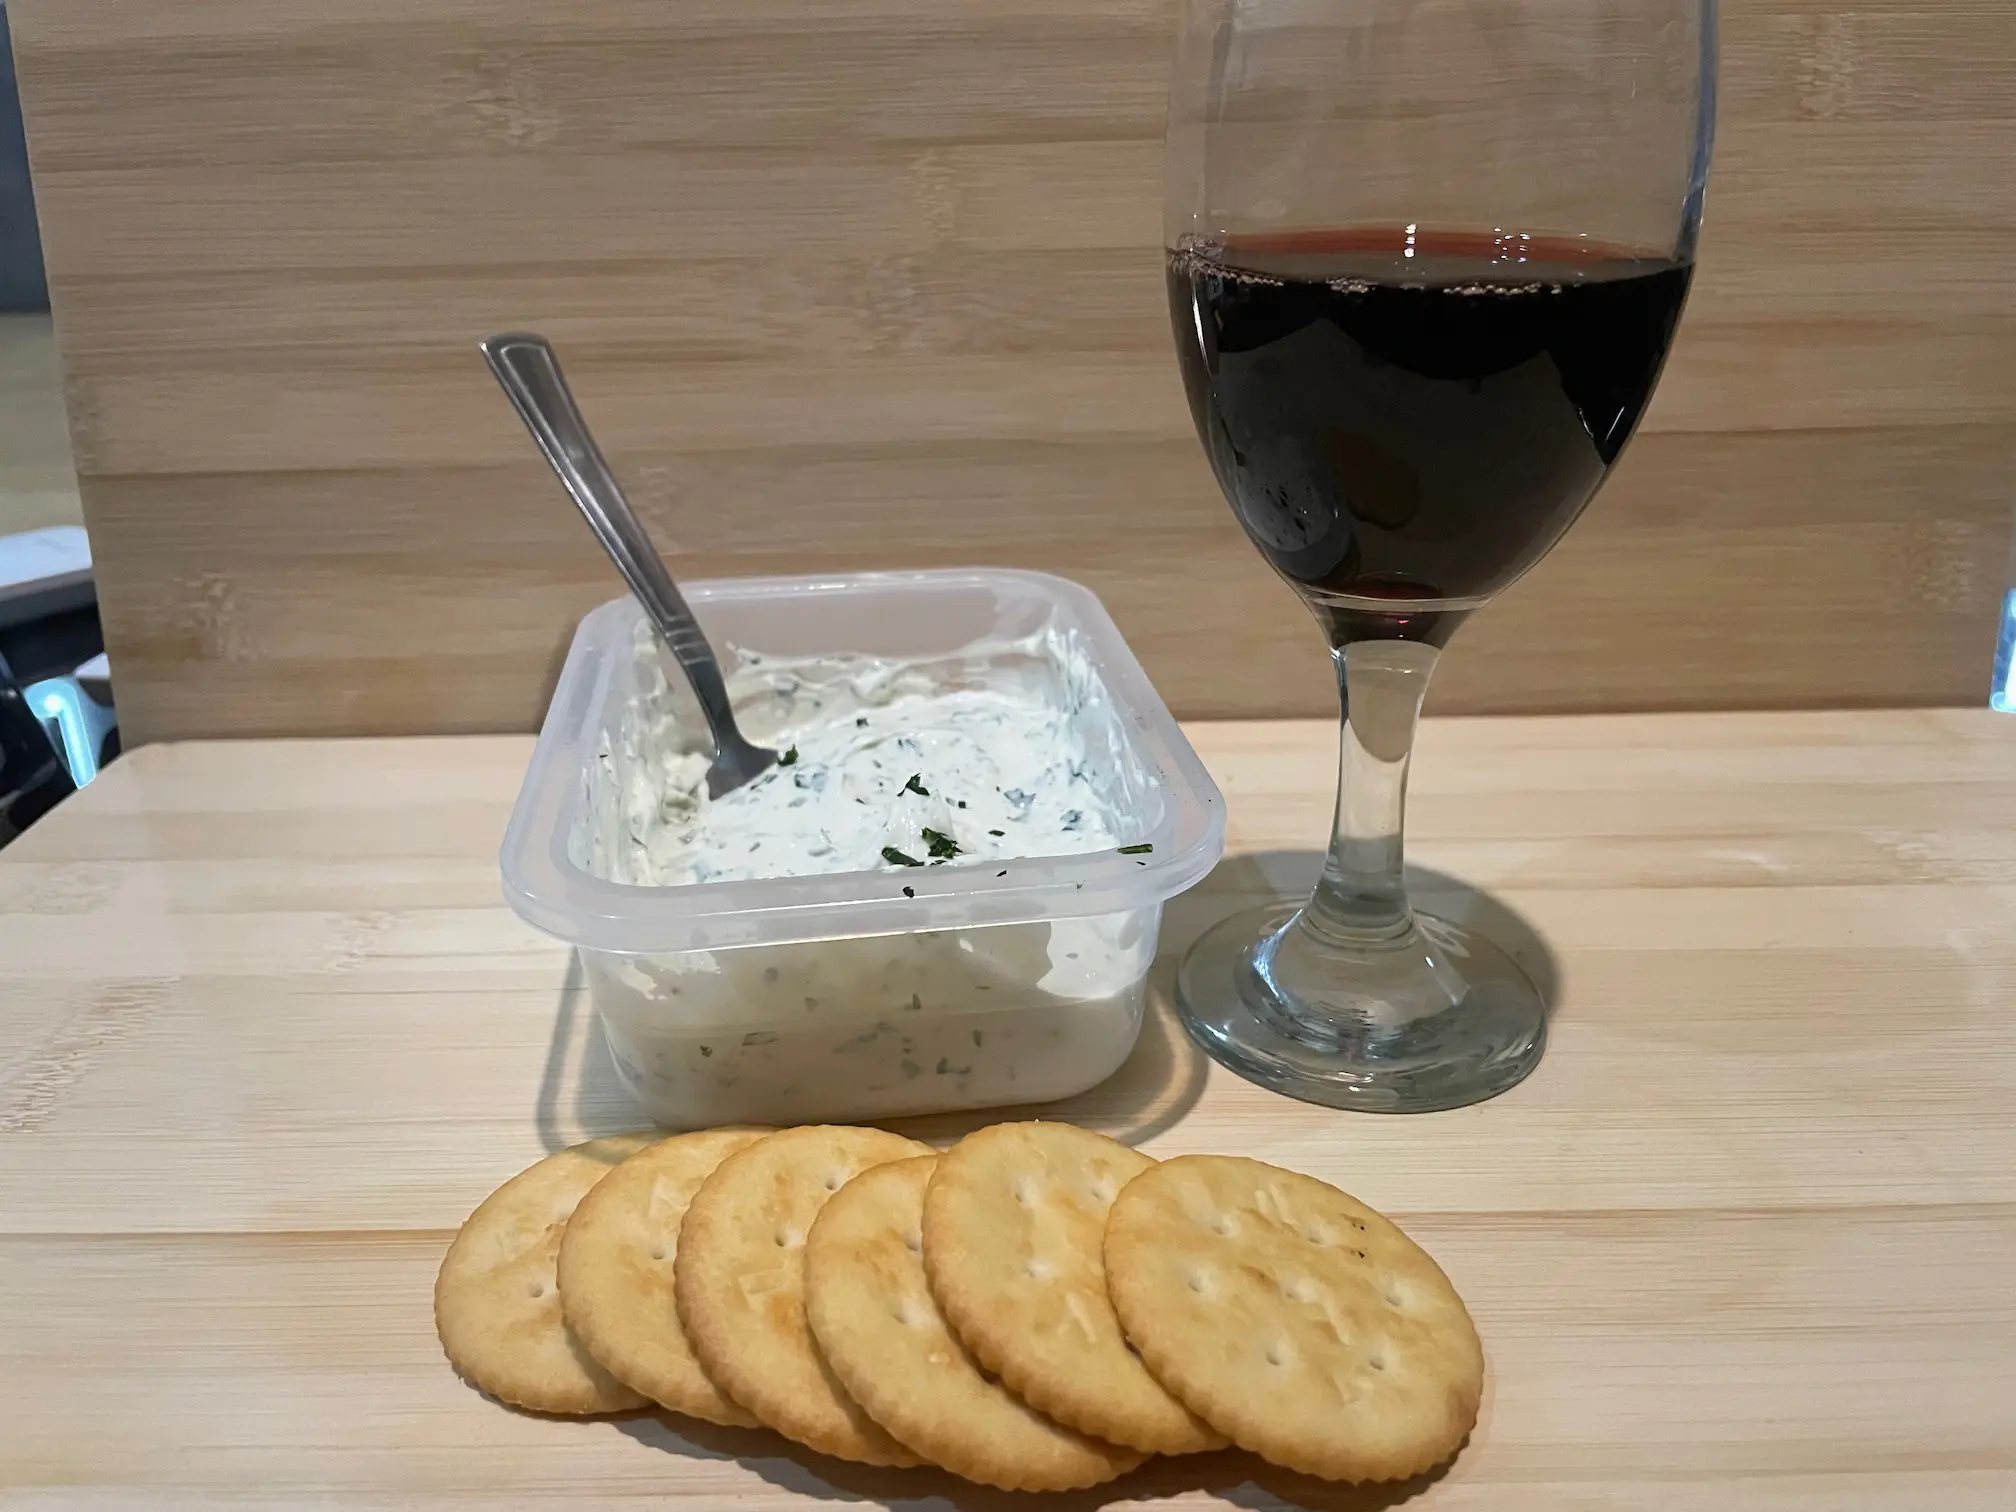
Homemade Labne From Goat Milk at De Klomp Homestead
We made fresh Labne from our own goat milk at De Klomp Homestead, served with parsley and garlic as part of our journey into homemade dairy.
Read the story →Keep exploring De Klomp
More stories from the homestead
More honest lessons from goats, gardens, bread, and daily life on the land.